

Solar charger camping is now a top choice for campers who want dependable, renewable power for their essential devices off the grid. Whether you want to keep your phone, GPS, or lights charged in deep backcountry or at a drive-in site, understanding how today’s portable solar chargers work for camping ensures you avoid nasty surprises and pick the right gear for your needs.
Key Takeaways
- Real-world solar charger output is usually 40–70% of rated wattage—optimized placement and realistic trip planning are critical.
- Weather, panel durability, and setup complexity directly affect practical performance and long-term reliability for camping use.
- Oversizing your setup and bringing a fully charged power bank can save your trip, especially in uncertain weather or multi-day outings.
- What is Solar Charger Camping and Why Does It Matter?
- Step-by-Step Guide: How to Use a Solar Charger While Camping
- Advanced Analysis and Common Pitfalls
- Conclusion
- FAQ
What is Solar Charger Camping and Why Does It Matter?
Solar charger camping means using portable solar panels or solar power banks to keep your devices powered during outdoor adventures—without relying on the grid, vehicle outlets, or constant resupply. With rechargeable batteries built into or separate from the panels, you can charge phones, lights, radios, GPS units, and even run small emergency gear directly from the sun’s energy. This technology is popular not only with backcountry hikers but also with overlanders, bikepackers, and car campers seeking energy independence and emergency preparedness.
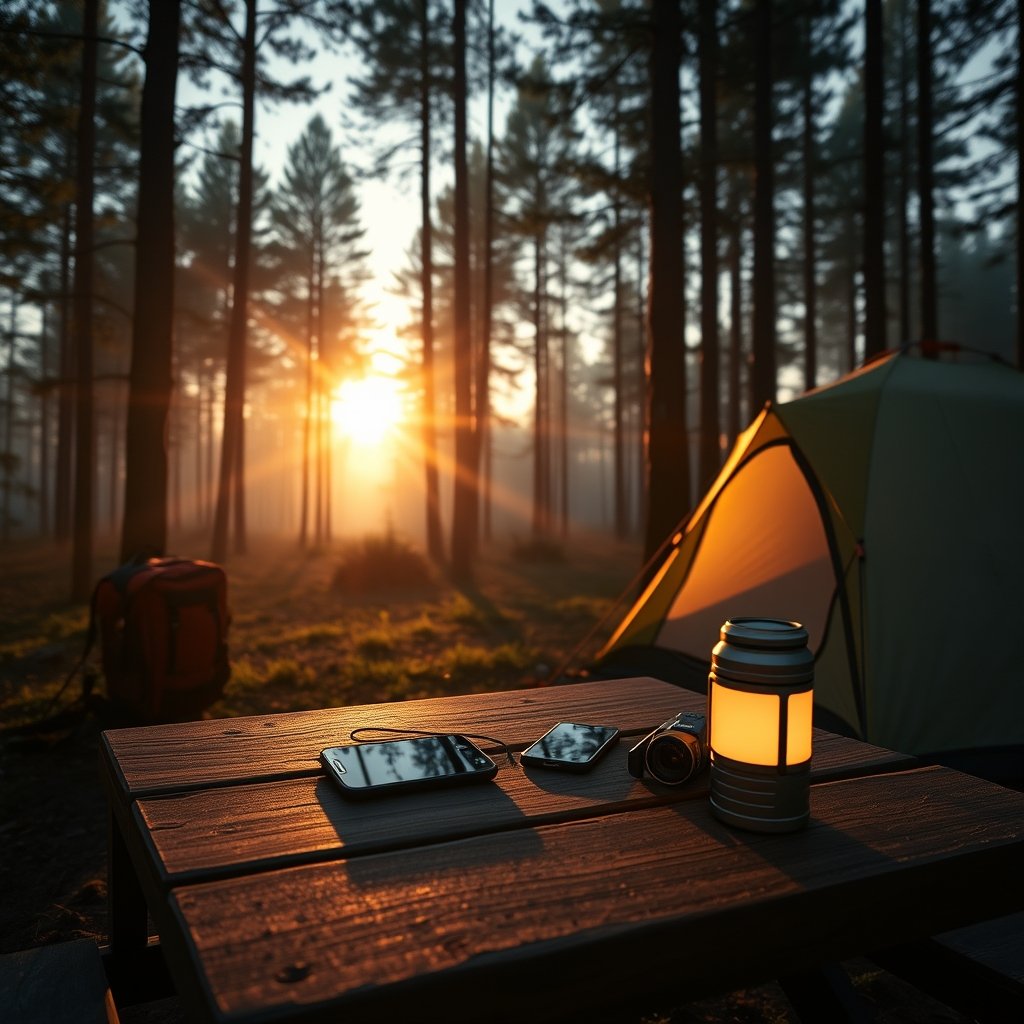
Why does this matter in 2024? Portable solar charger adoption is soaring, driven by a surge in camping and outdoor recreation as well as the push for greener, off-grid energy solutions. The global market size for portable solar chargers is now estimated up to $1.8 billion. Growth is driven by increased efficiency, lower prices, and the rising need for reliable, independent power outdoors.
(Sources: Grand View Research, Credence Research)
Step-by-Step Guide: How to Use a Solar Charger While Camping
-
Calculate your energy needs realistically.
Estimate how much each device (phone, GPS, light, camera) consumes per day in watt-hours (Wh). Add 20% extra for inefficiency and lost solar hours. For short trips (up to 3 days), a large power bank may be more reliable than a panel. For longer or unsupported trips, solar becomes necessary.
For example, an average smartphone might need 10-12 Wh per full charge, and a headlamp 2-4 Wh per night. -
Pick a solar charger that matches your camping style.
- Backpacking: Prefer foldable 20–28 W monocrystalline panels (~500–800g) without heavy built-in batteries. Look for robust fabric, reinforced hinges, and durable, IP-rated junctions.
- Car camping/overlanding: Go for larger 60–120 W foldables or briefcase panels. These are suitable for running or recharging multiple devices and pairing with portable power stations. You can go heavier without worrying about pack weight.
-
Fully charge all devices and power banks from home before departure.
This is your essential backup if weather turns poor or if solar is unreliable on cloudy days. -
Set up your solar panel with exposure and angle in mind.
Place the panel in direct sun between 10 am and 3 pm, ideally at a 45–60-degree angle facing the sun to maximize output. Move or tilt the panel every couple of hours if you want peak efficiency, or at least set it up for midday sun if you’ll be gone. -
Never rely on direct panel-to-device charging in unstable sun.
Whenever possible, charge a power bank as an intermediary buffer. Sudden cloud cover or shifting sun can cause charging interruptions that may damage phones or confuse charging circuits. -
Protect connections, cables, and electronics.
Keep USB ports, junction boxes, and attached cables off the ground and out of the rain. If your panel isn’t rated IP65 or higher, shelter the electronics during heavy dew, rain, or wet grass. -
Monitor charging progress frequently and reposition as needed.
Check charge indicators or use an inline USB power meter (inexpensive online) to track real output. This also lets you spot when shade or cloud cover is severely reducing your charging rate. -
Use heavy-duty storage and packing to prevent damage in transit.
Wrap or stow panels when not in use to prevent fraying, delamination, or breakage of cables and connectors.
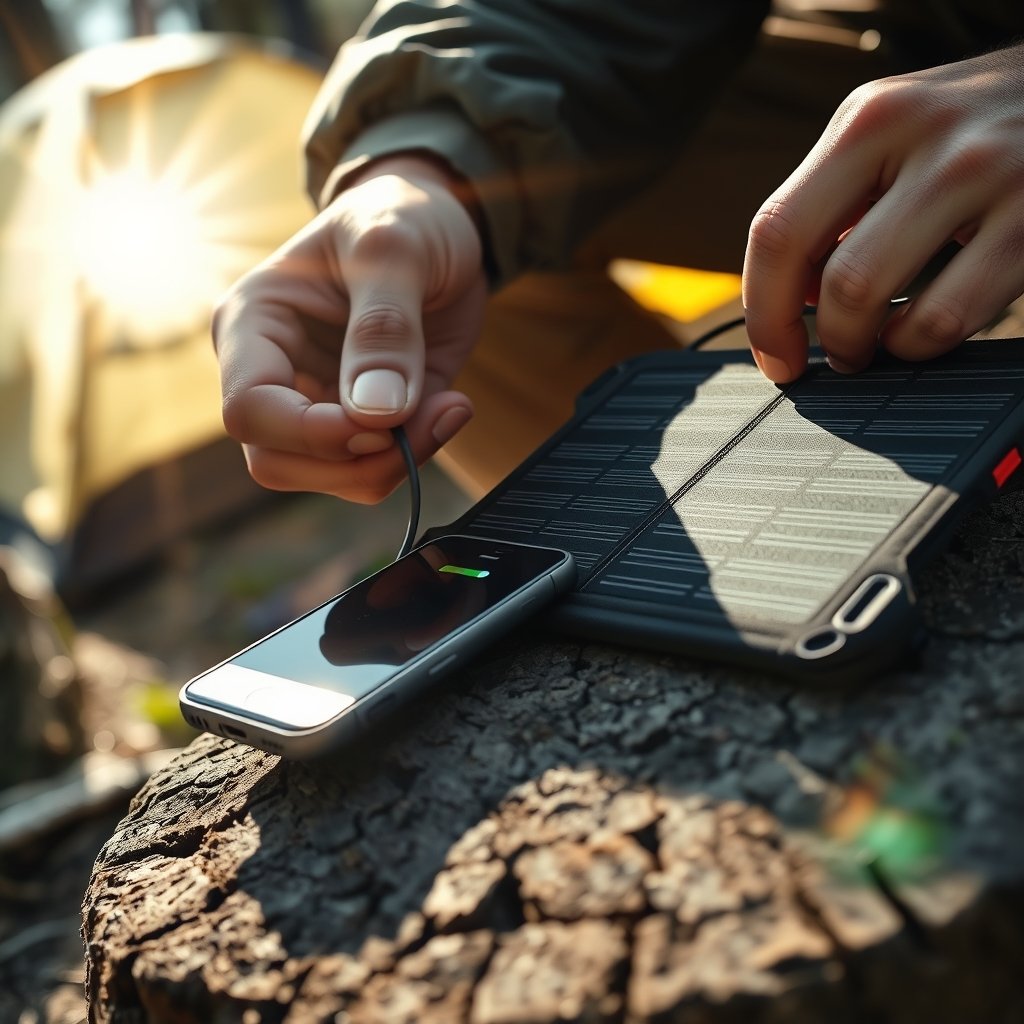
For robust emergency setups, consider solar chargers with built-in LED flashlights, SOS modes, or models designed for rugged use (look for IPX65 water resistance and drop-rated construction). These help in adverse weather, but be aware that solar-only power is limited in rain, snow, or dense forest. That’s why many serious campers also carry pre-charged power banks alongside their panel for true backup redundancy. For even more reliable campsite or basecamp power, large portable power stations paired with 60–120 W solar panels deliver multi-device charging and even power small fridges or CPAP machines—a top solution for car camping and overlanding. See our complete portable power station camping guide for details.
Advanced Analysis and Common Pitfalls
Using a solar charger for camping is empowering—but if you follow manufacturer claims without skepticism, you might be disappointed. Here are the top pitfalls and real-world limitations you must know about, supported by field research and user reviews.
| Pitfall | What Really Happens | How to Avoid It |
|---|---|---|
| Assuming rated wattage is realistic | Panels deliver only 40–70% of advertised power—even in good sun. In shade/cloud/forest, expect less than 20% output. | Size up your panel above your calculated load; monitor wattage using USB meters; accept slower charging during suboptimal hours. |
| Directly charging devices in unstable sunlight | Voltage drops or fluctuations can repeatedly start/stop phone charging—can damage batteries or confuse charging logic. | Always charge a power bank as a buffer, then charge devices from the bank. |
| Poor mounting or panel placement | Twisted panels, folded corners, or laying flat on cold ground cut performance. Wind can flip/blow over lightweight models. | Secure panels with reinforced loops; angle them toward direct sunlight; use rocks/stakes for stabilization. |
| Relying on integrated “solar power banks” alone | Small built-in panels recharge internal batteries at a “trickle” rate—even with all-day sun, often only 10–30% of one smartphone charge reached on a 10,000–20,000 mAh pack. | Treat integrated solar batteries as emergency-only. Main charging should be from larger standalone panels and pre-charged batteries. |
| Ignoring long-term durability | Fabric frays, hinges crack, PET layers delaminate after months of folding—leading to abrupt failures in the field. | Choose ETFE-laminated panels, quality construction, reinforced grommets, and consider brand warranties. |
| Underestimating weather and climate effects | Overcast, dense forest, or rain can bring charging to a standstill—”all weather” claims are rarely accurate. | Always plan for sun variability; don’t make critical needs depend solely on solar. Carry spare batteries or alternative power sources. |
Also, many guides skip discussing energy budgeting by trip length and region. On short trips under forest canopy, carrying a larger ultralight power bank often beats the weight, cost, and complexity of solar for most users. For longer or extended backcountry stays, making the extra effort to set up solar at camp and use weather windows is essential.
When investing in premium gear, look for panels with true MPPT controllers, detailed warranty coverage for water and UV damage, and modular connections. Experienced campers prefer replaceable/field-repairable cables and junctions—and you can find more tips in our private land camping guide and recent inflatable camping tent analysis if your trip style overlaps.
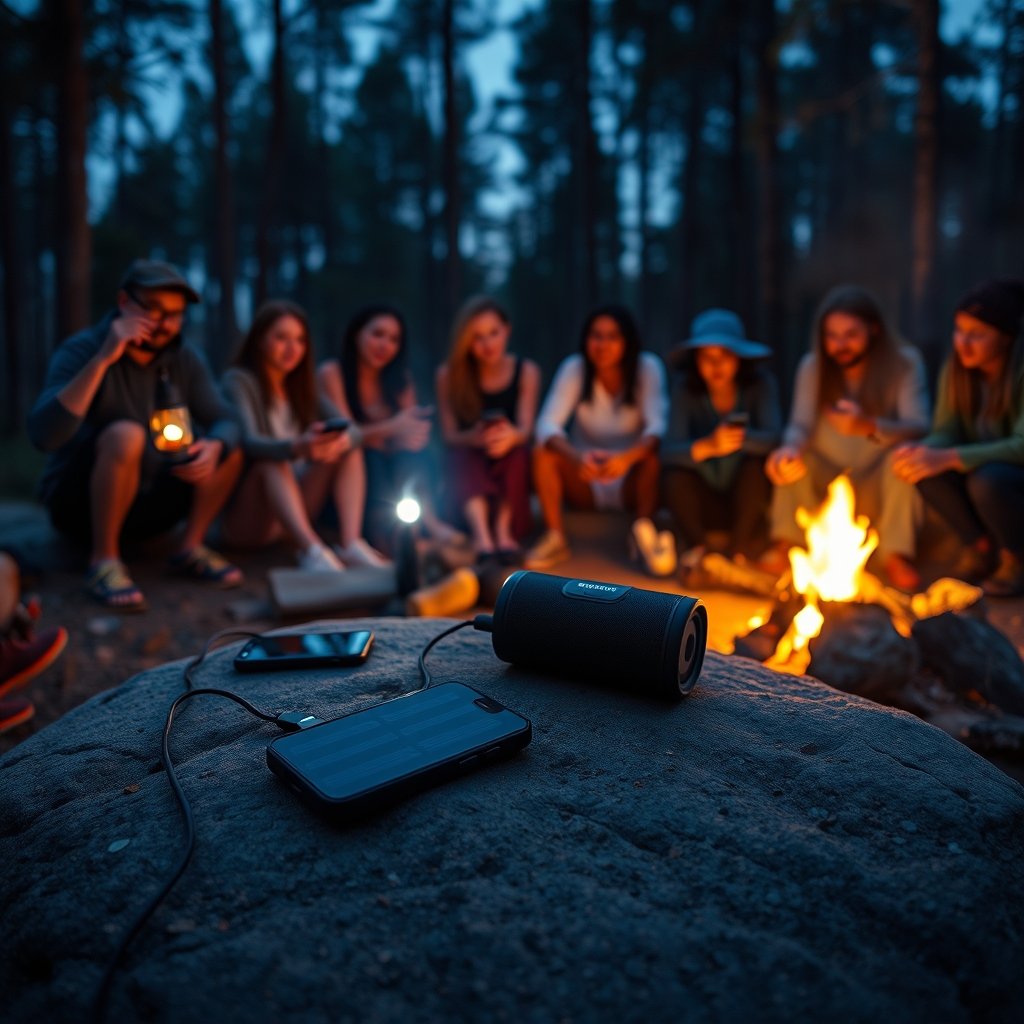
Emergency solar options often have extras—like LED flood lighting or radio compatibility—but these cannot fully replace high-output battery backup or fuel-based power for long clouded periods (source: Strategic Market Research). Multi-source redundancy remains best practice for any remote or weather-prone adventure.
Conclusion
A reliable solar charger camping setup demands realism about device needs, weather, and practical limitations. Oversize your system, pair it with robust power banks, and don’t assume direct-from-panel charging will always work. The best solar solutions for campers are those built for rugged use and field repair, with proven long-term durability and realistic energy budgeting.
Ready to take charge of your camping power? Start by calculating your actual device usage needs and sizing your solar gear accordingly. Then check out our in-depth guides—like the ultralight backpacking gear checklist or portable power station comparison—to complete your camp setup for any adventure!
FAQ
Can a solar charger fully power all my camping devices every day?
Only if your solar panel is sized for your device usage and local sun conditions are favorable. Expect real-world output to be half or less of the panel’s rated wattage, especially with clouds or shade. Backup your system with pre-charged power banks on trips with variable weather.
Are solar power banks with integrated panels worth it for camping?
They are useful for emergency top-ups but usually charge very slowly from sunlight alone. Treat integrated solar batteries as a backup-and use plug-in charging at home or a larger foldable panel for main recharging duties.
Is it better to hang a panel on my backpack or set it up at camp?
Hanging a panel while hiking provides only slow trickle charging due to poor sun angle and movement. For best performance, lay the panel flat and angle it towards direct sunlight at camp during stationary periods.
What features signal a truly durable camping solar charger?
Look for ETFE-laminated panels, reinforced fabric or metal grommets, strong hinged folds, and high IP ratings (IPX4+). Brand warranty coverage and replaceable cables also signal longer-term reliability.
Do solar chargers work in cloudy weather or dense forests?
Solar output drops steeply in clouds or shade—often providing only 10–20% of rated output, or none at all in heavy forest or rain. Always have fully charged power banks or a secondary backup.